Modern cars are equipped with onboard diagnostic systems that monitor various vehicle components and systems. When a problem or malfunction is detected, the system generates Diagnostic Trouble Codes (DTCs) to help diagnose the issue. Clearing these codes using a car scanner is an important step in the troubleshooting process. In this article, we will provide a detailed guide on how to clear DTCs using a car scanner.
Step 1: Prepare the Car Scanner:
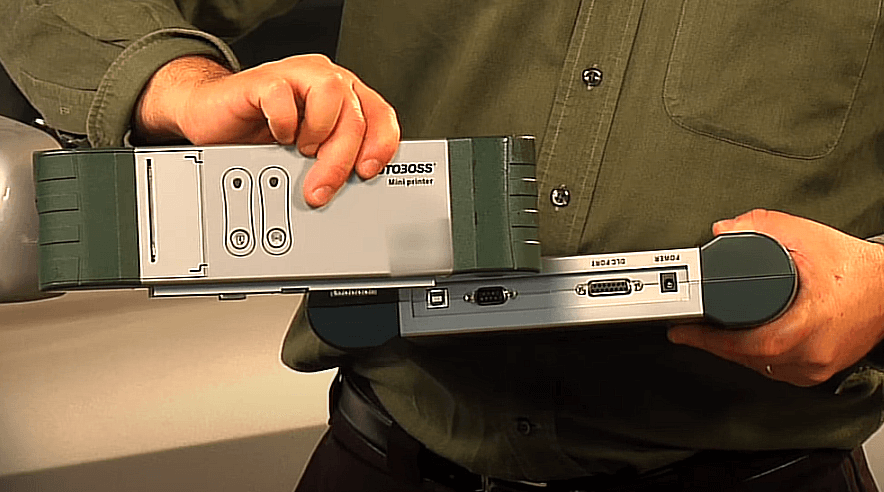
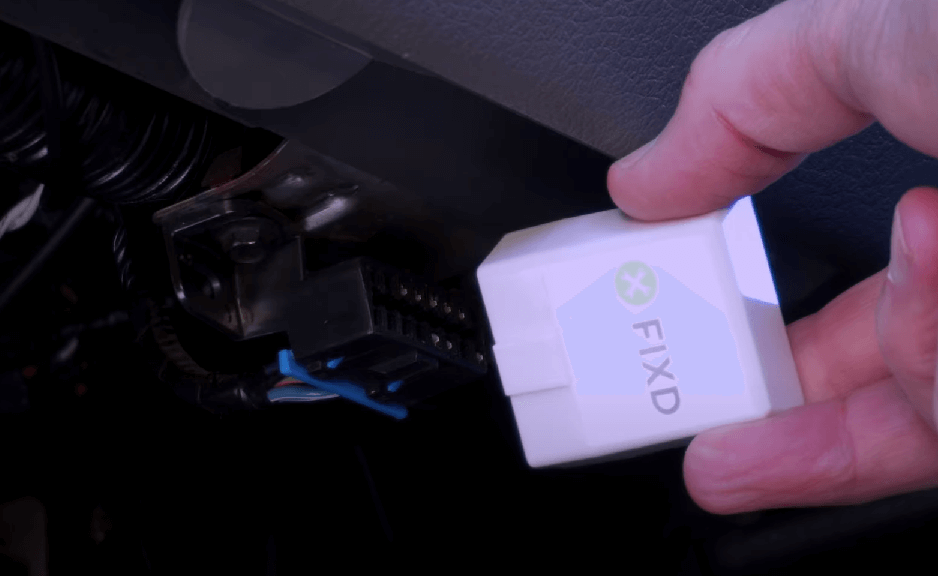
Before starting the code clearing process, ensure that you have a compatible car scanner. Most scanners have a universal OBD-II connector, which can be found under the dashboard, near the driver’s side. Connect the scanner to the OBD-II port by plugging it in securely.
Step 2: Turn on the Ignition:
Insert the car key into the ignition and turn it to the “On” position without starting the engine. This will provide power to the car’s systems and allow the scanner to communicate with the onboard computer.
Step 3: Access the Scanner Menu:
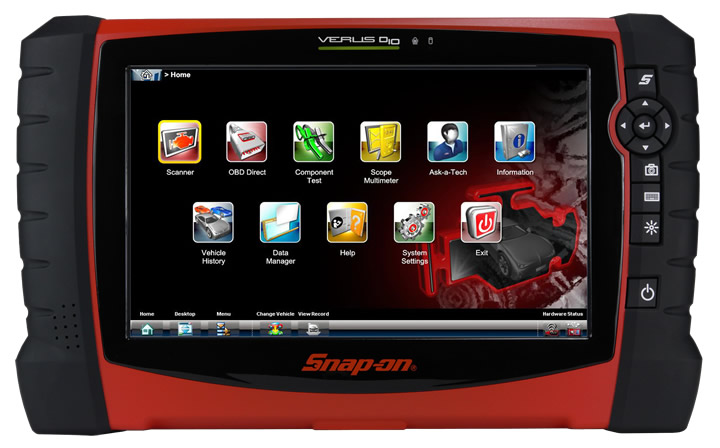
Depending on the specific model of your scanner, you may need to navigate through different menu options. Typically, there will be a “Menu” or “Settings” button on the scanner. Press this button to enter the main menu.
Step 4: Select “Read Codes”:
Once you are in the scanner’s main menu, look for the option labeled “Read Codes” or “DTCs.” Select this option to retrieve the existing diagnostic trouble codes stored in the car’s computer. The scanner will display the codes on its screen or provide a printout.
Step 5: Analyze the Codes:
Carefully review the retrieved DTCs on the scanner’s display. Each code consists of a combination of letters and numbers that indicate the specific problem detected. Cross-reference the codes with a reliable DTC database or consult the scanner’s user manual to understand their meaning.
Step 6: Clear the Codes:
After understanding the meaning of the codes and addressing any underlying issues, it’s time to clear the DTCs. Return to the scanner’s main menu and look for the option to “Clear Codes” or “Erase DTCs.” Select this option to initiate the clearing process.
Step 7: Confirm Code Clearing:
Once you have selected the “Clear Codes” option, the scanner will prompt you to confirm the action. Take a moment to ensure that you have resolved the underlying issues or performed the necessary repairs before proceeding. Clearing the codes will also reset any related monitors, so it’s important to be confident in your troubleshooting.
Step 8: Wait for Confirmation:
After confirming the code clearing action, the scanner will communicate with the car’s computer to erase the stored DTCs. The process may take a few seconds or longer, depending on the scanner and the number of codes being cleared. Wait for the scanner to display a confirmation message indicating that the codes have been successfully cleared.
Step 9: Turn off the Ignition and Disconnect the Scanner: Once the codes have been cleared, turn off the ignition and remove the car key. Disconnect the car scanner from the OBD-II port by gently pulling it out. Ensure that you store the scanner in a safe place for future use.
Clearing Diagnostic Trouble Codes using a car scanner is a straightforward process that requires a compatible scanner and a few simple steps. By following this step-by-step guide, you can retrieve and clear DTCs effectively, aiding in the troubleshooting process and ensuring the proper functioning of your vehicle. Remember to address any underlying issues causing the codes before clearing them to prevent recurring problems.
This was a fascinating piece. The author’s insights were very compelling. I’m eager to hear different viewpoints on this topic. What are your thoughts?