- Safety precautions
Before you begin, ensure the engine is turned off, and the key is removed from the ignition. Disconnect the battery’s negative terminal to prevent any electrical accidents.
2. Remove the alternator
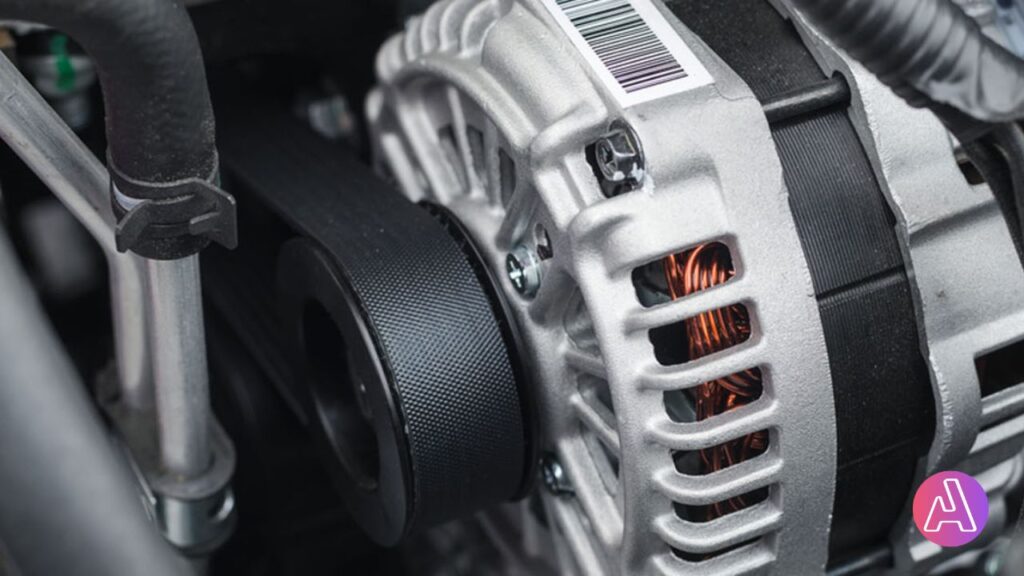
Locate the Denso alternator 421000-0026 in your vehicle’s engine compartment. It is typically mounted near the front of the engine and connected to the drive belt. Disconnect the electrical connections and remove any mounting bolts to detach the alternator from the engine.
3. Disassemble the alternator
Carefully disassemble the alternator, following the manufacturer’s instructions. This usually involves removing the pulley, the rear cover, and the internal components.
4. Inspect the components
Thoroughly inspect each component for signs of wear, damage, or corrosion. Pay close attention to the stator, rotor, brushes, voltage regulator, diodes, and bearings. Replace any parts that appear damaged or worn out. It is recommended to use genuine Denso replacement parts or high-quality equivalents.
5. Clean the components
Use suitable electrical parts cleaner or solvent to clean the alternator’s components, including the stator, rotor, and other metal parts. Ensure that all debris, dirt, and old grease are removed. Take caution when cleaning delicate components, such as the brushes, to avoid damaging them.
6. Replace worn-out parts
Install new brushes, voltage regulators, diodes, bearings, or any other components that need replacement. Follow the manufacturer’s instructions and ensure that all parts are correctly aligned and securely fastened.
7. Reassemble the alternator
Carefully reassemble the alternator, following the reverse order of disassembly. Make sure all components fit together correctly and all electrical connections are properly reattached. Pay attention to torque specifications for mounting bolts to avoid over-tightening or under-tightening.
8. Test the rebuilt alternator
After reassembling the alternator, it’s crucial to test its functionality. Connect the alternator back to the vehicle’s electrical system and start the engine. Use a voltmeter to measure the voltage output at the alternator’s output terminal. It should read around 13.5 to 14.5 volts. Additionally, check for any abnormal noises, excessive heat, or other signs of malfunctioning.
9. Reinstall the alternator
If the rebuilt alternator passes the functionality test, reinstall it in the engine compartment. Ensure all electrical connections are properly secured, and the alternator is mounted securely using the correct bolts and brackets.