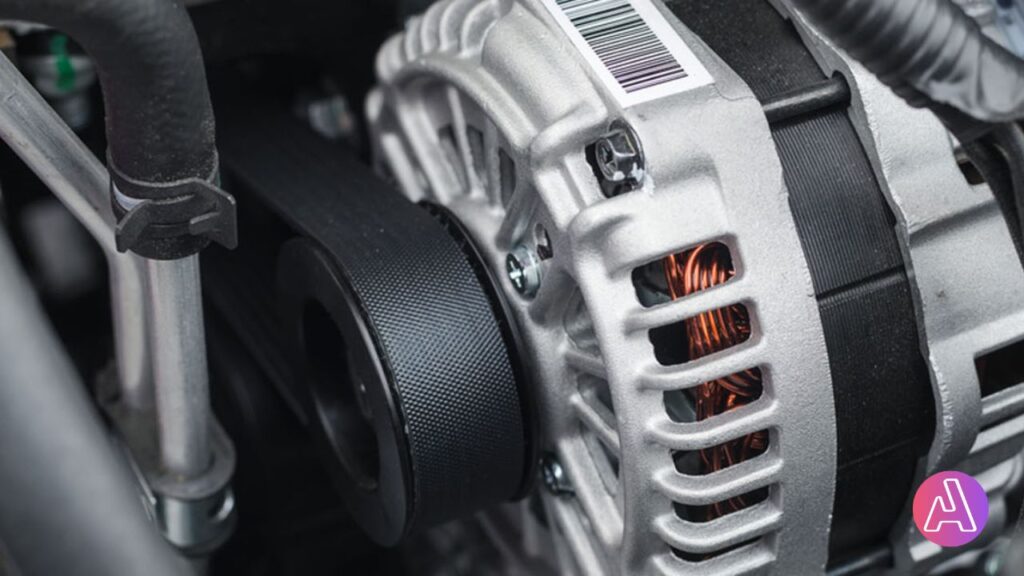
1. Understanding The Alternators Individually
At first, we order the required alternator from Amazon after doing comprehensive research on it. After receiving the products, we try to understand their mechanism and try them out in our testing vehicles.
In the following process, we try to present a clear and straightforward explanation of the mechanism of the alternators and the function that they serve within the electrical system of an automobile.
While the testing session, we thoroughly check which alternators are the best at generating electricity as well as their role in the process of keeping a battery charged. Alongside we check the following things while testing
- Compatibility
- Ease of installing
- Reliability
- Build and durability
- Enhanced Charging
- Improved Electrical Output
- Positive Customer Reviews
- Pricing
- Smoother Driving Experience
2. Necessary Arrangements for the Exams
Before beginning the alternator test, we finish all of the necessary preliminary work that was necessary. Such as
- Installing the alternators correctly to a vehicle
- Ensuring all the safety measures
- Tests are conducted by extremely experienced mechanics and in front of multiple product review experts
- Lastly, we ensure that the testing environment is constant.
3. Electrical Load Test
As part of the testing process, we put the alternators through an electrical load test. In the parts that follow, we’ll explain in detail how to put a load on the alternator and how we conduct the electrical load test.
We measure the alternator’s performance under different electrical loads so that you can use this information to your advantage. With this test, we can find out if the alternator can meet real-world standards or not.
4. Voltage Output Test
The measurement of the voltage that is produced by the alternator is another important part of our testing technique. This voltage is measured in volts.
Now, we will speak about the instruments and procedures that we use to get an accurate reading of the voltage output of the alternator. Instruments that we use
- Multimeter: A digital multimeter capable of measuring AC voltage is essential. Make sure it has a suitable voltage range to measure the output voltage of the alternator.
- Safety Gear: Wear appropriate safety gear such as safety glasses and gloves to protect yourself while working with electrical equipment.
- Test Leads: These are the cables that connect the multimeter to the alternator. Ensure that the test leads are in good condition and have suitable connectors for the multimeter and alternator terminals.
- Wiring Diagram: Obtain a wiring diagram for the specific alternator you are testing. This diagram will help you identify the correct terminals to connect the multimeter.
- Battery Charger or Jump Starter: It’s a good idea to have a battery charger or jump starter available to ensure the battery connected to the alternator is adequately charged during the test.
We can ascertain, with the assistance of this test, whether or not the alternator is providing the appropriate voltage to power the various electrical components of the car if we are successful in our mission.
5. Diode Rectifier Test
The diode rectifier test provides us with assistance in establishing the level of functionality of the diode rectifier assembly of the alternator. Our diode rectifier test is conducted by our expert product reviewers with our experienced automobile technicians.
To successfully carry out this test, which helps uncover any potential diode failures or malfunctions, we go through the procedure that needs to be followed in order to do so.
- Ensure that the battery is fully charged before continuing.
It is very important to make sure that the alternator can charge the car’s battery well. For this, we conduct this test and it is one of the most important aspects of identifying a good alternator
In the following process, we conduct a battery charge test, which comprises gauging the capacity of the alternator to charge the battery and analyzing the effect that this capacity has on the battery’s current level of charge.
7. A thorough investigation of the apparatus
In addition to conducting electrical testing, we carry out a thorough inspection of the alternator’s mechanical components as well.
In this session of testing, we go through the steps that need to be done in order to visually inspect the alternator for any signs like
- Physical damage
- Wear and tear
- Loose connections.
These steps are necessary in order to check for any of the aforementioned issues of an alternator.
8. Final Assessment
After all of the inspections and tests are done, we put all of the information we’ve gathered together and give an in-depth study of how well the alternator works and how reliable it is.
Then we provide all the information to our expert automobile content writers.
Our eligible writers write about the criteria we use when evaluating, as well as the steps we take to give ratings based on the results of our investigation.
Our expert content writers mention how we use the results of our research to give something a rating. These ratings are based on the product qualities, and the quality includes the electrical performance, the mechanical condition, and the overall reliability of the product.
In conclusion, the extensive testing approach that we put them through ensures that the reviews of automobile alternators that we provide are accurate as well as objective.
We provide our readers with valuable information that will enable them to make informed purchasing selections by examining a variety of aspects.


