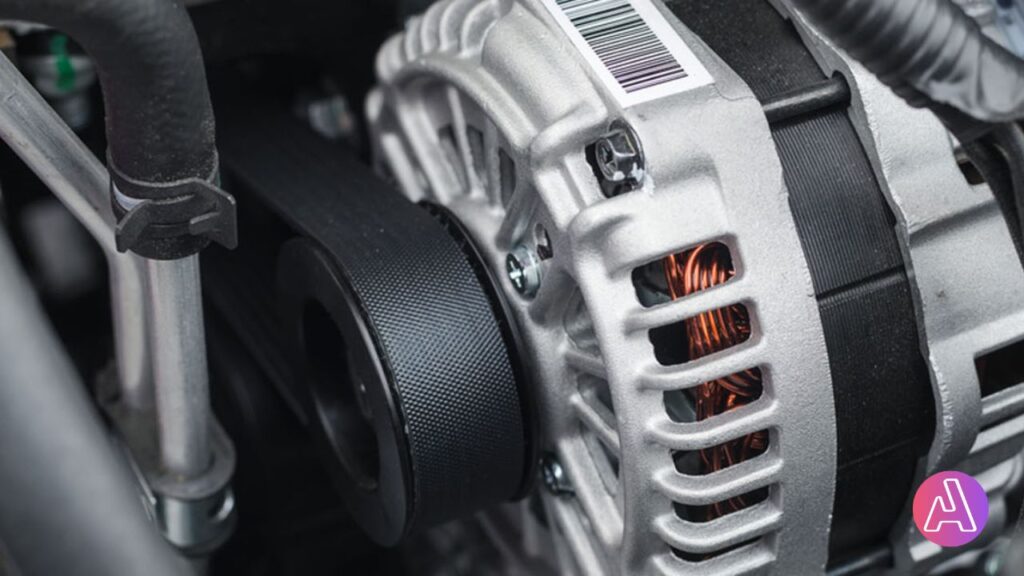
We would love to welcome all of our fellow gearheads and car nuts to this complete guide for AC Delco generator wiring. If you need to fix or replace an AC Delco generator, it’s important to have a good understanding of how the wiring works.
You no longer have to worry as we have covered the whole topic in this article and we will help you through every step of the process. Now, get your tools ready, because we’re about to go deep into the world of AC Delco alternator wiring!
Step 1: Disconnect the Battery
Safety first, folks! Before you embark on any electrical work, it’s essential to disconnect the battery. Don’t forget to wear gloves before you start working.
Locate the battery in your vehicle and disconnect the negative (-) terminal. This will prevent any accidental electrical shocks or damage during the wiring process.
Step 2: Identify the AC Delco Alternator Wiring Terminals
Take a close look at your AC Delco alternator, and you’ll notice several terminals. Now let’s break them down:
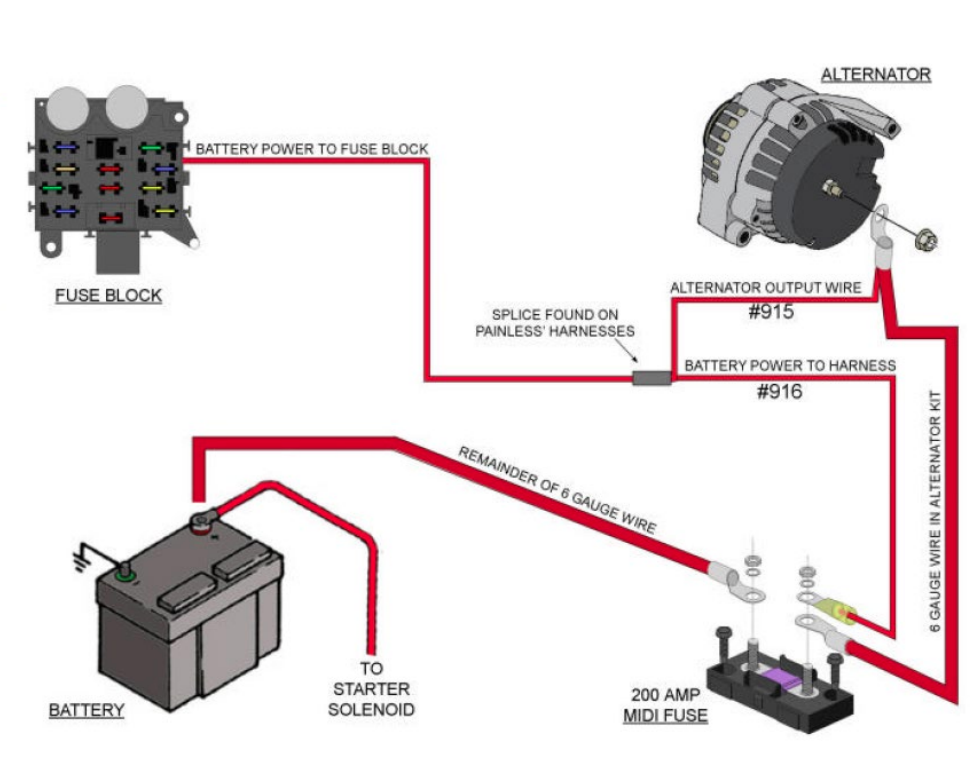
- B+ Terminal: This is the main output terminal where the battery positive (+) cable connects. It provides power to charge the battery and power the vehicle’s electrical system. It’s more like the heart connection.
- S Terminal: This terminal is for the stator or sensing wire. It connects to the ignition switch’s “ON” position and allows the alternator to sense when the vehicle is running. This terminal helps in activating the charging process.
- L Terminal: Some AC Delco alternators may have an “L” terminal, which is for the warning light. It connects to the dashboard warning light, indicating any potential issues with the charging system.
- F Terminal: In certain alternator models, you may find an “F” terminal, which stands for the field wire. It connects to the voltage regulator or electronic control module to regulate the alternator’s output.
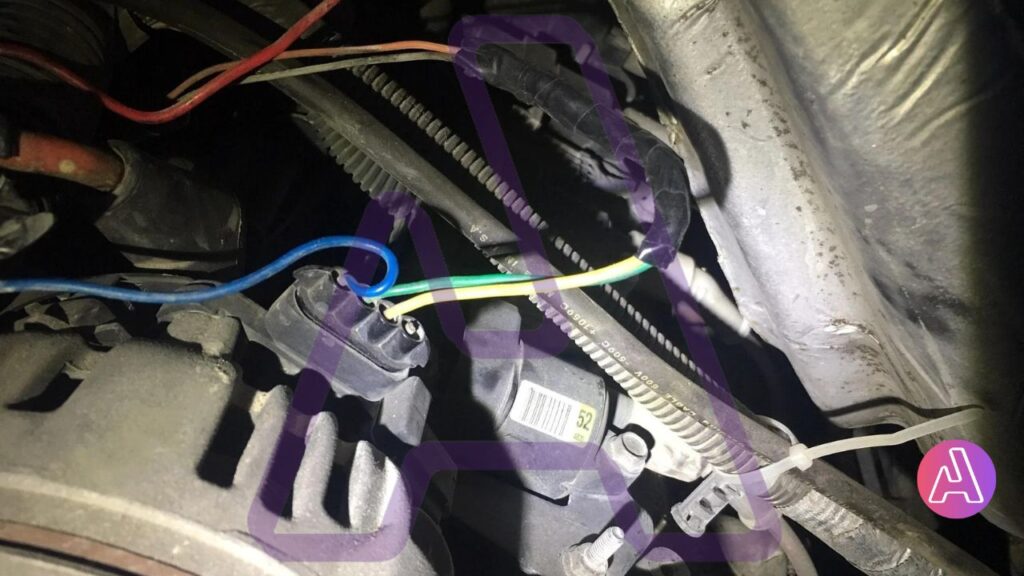
Step 3: Wiring Connections
Now that you’re familiar with the terminals, it’s time to make the necessary wiring connections. Here’s a general guide:
- Connect the battery positive (+) cable to the B+ terminal on the AC Delco alternator. This cable provides power from the alternator to the battery and the vehicle’s electrical system.
- If your alternator has an S terminal, connect a wire from the S terminal to the ignition switch’s “ON” position. This allows the alternator to sense when the vehicle is running and activate the charging process.
- For alternators with an L terminal, connect a wire from the L terminal to the dashboard warning light. This enables the warning light to illuminate if there are any issues with the charging system.
- If your alternator has an F terminal, connect a wire from the F terminal to the voltage regulator or electronic control module. This wire regulates the alternator’s output and ensures proper charging.
Step 4: Double-Check and Test
Once all the wiring connections are made, it’s crucial to double-check each connection to ensure they are secure and properly attached. Loose or faulty connections can lead to charging issues or electrical problems.
After verifying the connections, reconnect the battery by connecting the negative (-) terminal. Be careful if there are other loose ends of any other connections.
Step 5: Test the Charging System
With the wiring complete, it’s time to test the charging system. Start the vehicle and observe the battery voltage using a multimeter or voltmeter. The voltage should increase steadily as the alternator charges the battery.
If you notice any issues with the charging system, such as low voltage or warning lights, double-check the wiring connections and consult a professional if needed.
Final Words: Wiring with Confidence
If you follow the mentioned process then congratulations, my friend! You’ve successfully navigated the world of AC Delco alternator wiring.
With this comprehensive guide, you can tackle the wiring process with confidence and ensure a properly functioning charging system for your vehicle all by yourself.
Remember, if you’re unsure or uncomfortable with the wiring process, it’s always best to consult a professional mechanic. They have the expertise to handle any complex wiring tasks and ensure optimal performance.
FAQ
What is the third spade for on an ac delco alternator wiring?
The third spade on an AC Delco alternator is typically referred to as the “L” terminal. This terminal serves a specific purpose in the alternator’s wiring configuration.
L terminal: The L terminal is connected to the dashboard warning light in the vehicle. Its primary function is to activate the warning light when there is an issue with the charging system or when the alternator fails to provide sufficient voltage.
When the alternator is functioning properly, the L terminal receives a small amount of voltage from the ignition switch, which keeps the warning light off.
If the alternator encounters a problem, such as low voltage output, the L terminal voltage drops, then it might be a sign that your L terminal has some issues.
Can I use any wire for the AC Delco alternator Wiring?
Yes, you can but it is recommended to use wires specifically designed for automotive applications. These wires are designed to handle the electrical load and environmental conditions of a vehicle.
Using the correct wire gauge and insulation will ensure safe and reliable wiring for your AC Delco alternator. Avoid using random wires for AC Delco Alternator wiring.
How do I determine the wire size for AC Delco alternator wiring?
The wire size depends on the maximum current that the alternator can produce. It is advisable to refer to the manufacturer’s specifications or consult a professional to determine the appropriate wire size for your specific alternator model.
The user manual which comes with the alternator has all the details regarding the size of the wire for wiring. Do follow the instructions if needed it’s better to contact and ask for professional help.
What is the purpose of the stator wire in AC Delco alternator wiring?
The stator wire, also known as the sensing wire, allows the alternator to sense when the vehicle is running. It connects to the ignition switch’s “ON” position which enables the alternator to activate the charging process and provide power to the battery and electrical system.
How do I test the wiring connections for an AC Delco alternator?
To test the wiring connections, start the vehicle and use a multimeter or voltmeter to measure the voltage across the battery terminals. The voltage should increase steadily as the alternator charges the battery.
If you notice any inconsistencies or low voltage readings, double-check the wiring connections for secure and proper attachment. If necessary then contact any professional for help.
Can I install an AC Delco alternator without professional help?
Yes, installing an AC Delco alternator on your own is possible. However, if you are unsure or uncomfortable with the process, it is recommended to seek professional assistance.
They have the knowledge and experience to ensure proper installation and wiring for optimal performance and safety. Their customer care is fantastic and you can reach out to them for any mechanical issue or help regarding their products.